Unlock the Secret to Fresh, Flavorful Gluten-Free Baking: How to Make Buckwheat Flour at Home
Are you tired of gluten-free flour alternatives that compromise taste or texture? Many home bakers share this frustration, often encountering store-bought options that can leave a strange aftertaste or a gritty consistency in beloved recipes. The good news? The solution might be simpler, fresher, and more budget-friendly than you think. Forget about endlessly searching for that "perfect" pre-made blend; it's time to learn
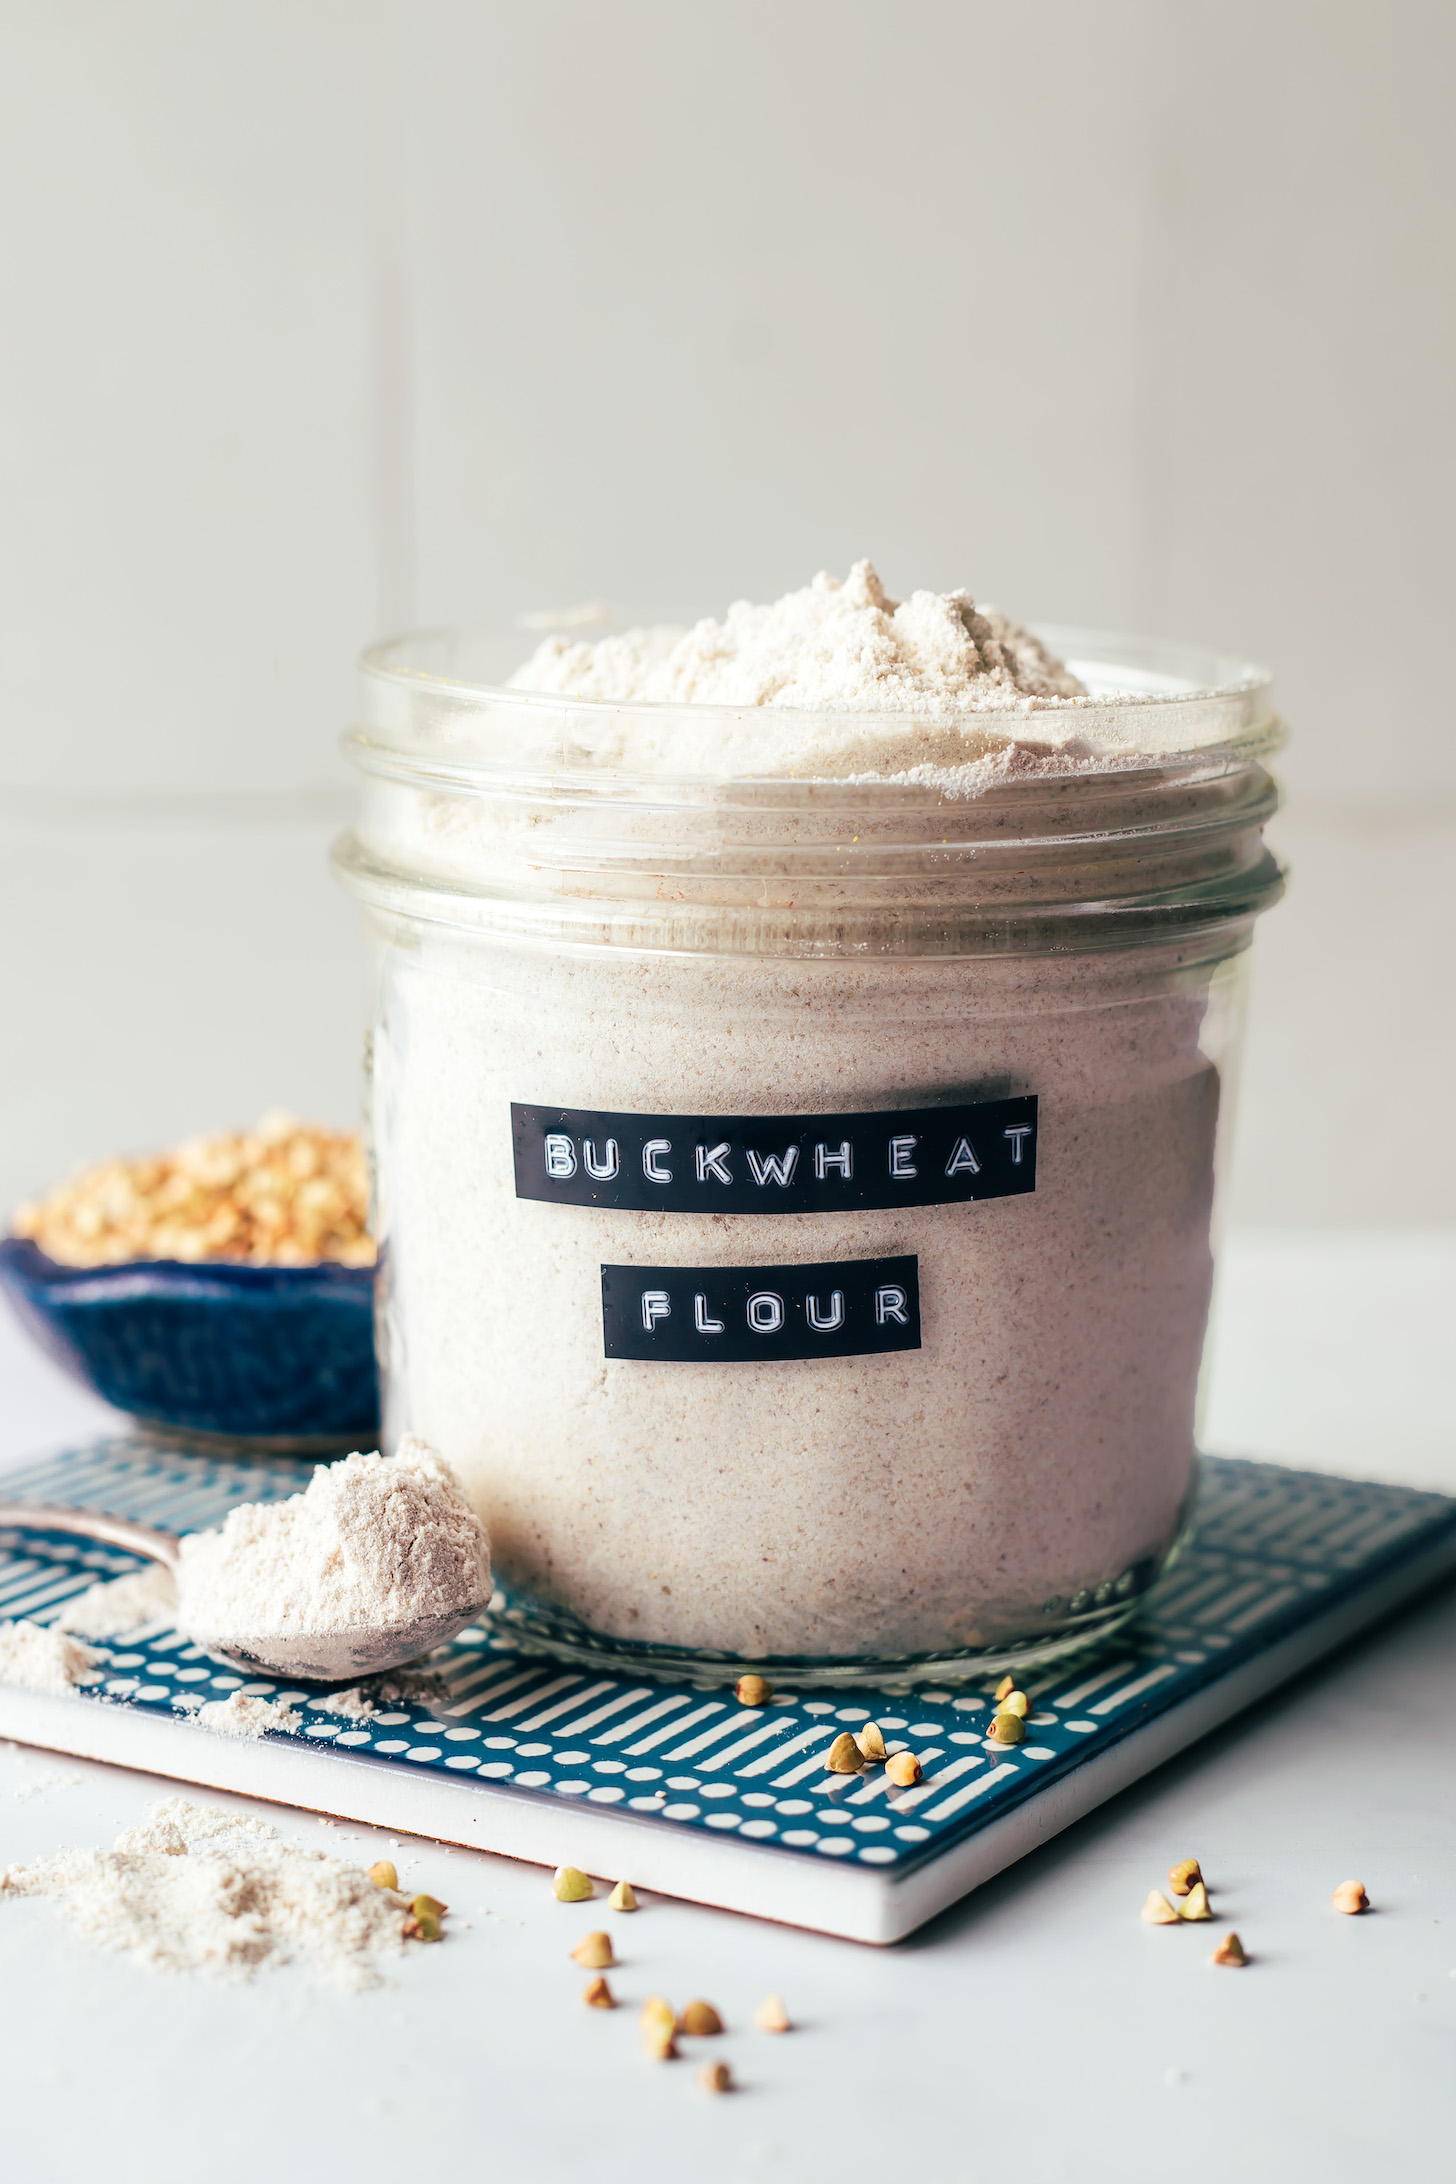
how to make buckwheat flour right in your own kitchen!
Buckwheat flour has become a favorite in the gluten-free community for a reason. Unlike many other alternatives, it boasts a unique, earthy flavor profile and a satisfying texture that elevates everything from pancakes to pastries. What's more, making it yourself from scratch is surprisingly easy, incredibly economical, and genuinely rewarding. In just about 5 minutes, with one simple ingredient and a basic kitchen appliance, you can transform whole buckwheat groats into a fresh, nutrient-packed flour ready for your next culinary adventure. We're here to guide you through every step, provide invaluable tips, and show you why homemade buckwheat flour is a game-changer for your gluten-free journey.
Buckwheat: The Nutritional Powerhouse Pseudo-Grain
Before we dive into the "how-to," let's demystify buckwheat itself. Despite its name, buckwheat is not related to wheat and is entirely gluten-free. It's actually a "pseudo-grain," meaning it's a seed used in similar ways to cereal grains, but it doesn't come from a grass plant. The hulled seeds of the buckwheat plant are known as groats, and these are the star ingredient for our homemade flour.
One of the most compelling reasons to embrace buckwheat flour is its impressive nutritional profile. Unlike refined flours, which are stripped of their beneficial germ and bran during processing, buckwheat flour is a whole grain product. This means it retains its natural goodness, offering a substantial source of:
- Protein: A great plant-based protein source, essential for muscle repair and growth.
- Fiber: Aids digestion, promotes satiety, and helps regulate blood sugar levels.
- Vitamins & Minerals: Rich in B vitamins, magnesium, manganese, phosphorus, and zinc, all vital for overall health.
- Antioxidants: Contains compounds like rutin, which may offer anti-inflammatory benefits.
This makes buckwheat flour an excellent choice for anyone seeking a more nutrient-dense alternative, especially those following plant-based or gluten-free diets. To understand more about its superior nutritional value compared to common refined options, you might find our article
Buckwheat Flour vs. Refined: Unlock Superior Gluten-Free Nutrition at Home particularly insightful.
Your 5-Minute Guide: How to Make Buckwheat Flour
Ready to transform those humble groats into magnificent flour? Here's exactly
how to make buckwheat flour with minimal effort and maximum reward.
What You'll Need:
- 1 Ingredient: Whole Raw Buckwheat Groats. Ensure they are hulled. You can usually find these in the bulk section of health food stores or online.
- 1 Piece of Equipment: A high-speed blender or a powerful coffee grinder/spice grinder. While a food processor can work, a blender or grinder will yield a finer, more consistent flour.
Step-by-Step Instructions:
- Measure Your Groats: Start with about 1-2 cups of whole raw buckwheat groats. You can always make more later, but grinding in smaller batches often yields a finer flour and prevents your appliance from overheating.
- Add to Blender/Grinder: Pour the measured groats directly into the clean, dry container of your high-speed blender or coffee grinder.
- Blend until Fine: Secure the lid and begin blending on a high setting.
- For blenders: Use a pulsing motion at first, then switch to a continuous high speed. You might need to shake the blender or stop and stir occasionally to ensure all groats are processed evenly.
- For grinders: Grind in short bursts, shaking the container gently between pulses.
The goal is to achieve a fine, powdery consistency, similar to store-bought flour. This typically takes anywhere from 30 seconds to 2 minutes, depending on the power of your machine.
- Check for Consistency: Once you think it's ready, turn off your appliance and let the dust settle for a moment. Open the lid and pinch a small amount of the ground buckwheat between your fingers. It should feel smooth and powdery, not gritty or coarse. If it's still too coarse, blend for a bit longer.
- Cool Before Storing: Freshly ground flour can be slightly warm due to friction. Spread the flour out on a plate or baking sheet for a few minutes to allow it to cool completely before transferring it to an airtight container. This step helps prevent condensation and extends its shelf life.
Pro Tip: Overheating your blender can lead to a slightly gummy texture and may damage the nutrients in the flour. If you're grinding a larger batch, pause every minute or so to let your appliance rest and the groats cool down slightly.
Storing Your Freshly Made Buckwheat Flour
Unlike commercially processed flours, homemade buckwheat flour retains its natural oils, which can cause it to go rancid more quickly if not stored properly.
*
Airtight Container: Always store your flour in a sealed, airtight container to protect it from moisture and air. Glass jars or food-grade plastic containers work well.
*
Cool, Dark Place: For short-term use (up to a few weeks), store it in a pantry or cupboard away from heat and light.
*
Refrigerate or Freeze for Longevity: For longer storage, especially in warmer climates, it's best to refrigerate or freeze your buckwheat flour. In the refrigerator, it can last for 1-2 months. In the freezer, it can stay fresh for up to 6 months or even longer. Just ensure the container is tightly sealed to prevent freezer burn or odor absorption.
Why Go Homemade? The Advantages Beyond 5 Minutes
While the convenience of a 5-minute prep time is certainly appealing, the benefits of learning
how to make buckwheat flour extend far beyond just speed:
*
Unmatched Freshness: Store-bought flours can sit on shelves for months, potentially losing flavor and nutritional potency. Homemade flour is at its peak freshness, offering a more vibrant taste and aroma.
*
Superior Flavor and Texture: Many find that homemade buckwheat flour has a milder, more pleasant flavor and a finer, less gritty texture compared to some commercial varieties.
*
Cost-Effective: Buying whole buckwheat groats is often significantly cheaper per pound than purchasing pre-ground buckwheat flour, especially if you buy in bulk. This savings can really add up!
*
Nutritional Integrity: Grinding your own flour ensures that all the vital nutrients, enzymes, and oils are retained right up until you use them, maximizing the health benefits.
*
No Additives or Preservatives: You control exactly what goes into your flour – just 100% pure buckwheat groats. No anti-caking agents, bleaches, or other unwanted extras.
*
Reduce Waste: You only grind what you need, when you need it, potentially reducing food waste from expired flour bags.
Unleash Your Buckwheat Flour: Easy Recipe Ideas
Now that you've mastered
how to make buckwheat flour, it's time to put it to delicious use! Buckwheat flour is incredibly versatile and can add a unique depth of flavor to a wide array of gluten-free dishes.
*
Pancakes and Waffles: Start your day with fluffy, nutty buckwheat pancakes or crisp waffles.
*
Blinis and Crêpes: Its delicate texture makes it perfect for savory blinis or thin, elegant crêpes.
*
Quick Breads and Muffins: Incorporate it into your favorite gluten-free quick bread or muffin recipes for added fiber and flavor.
*
Soba Noodles: While more advanced, authentic soba noodles traditionally use buckwheat flour.
*
Thickener: Use it to thicken gravies, soups, or stews, imparting a subtle earthy note.
*
Gluten-Free Baking: Experiment with it in cookies, cakes, and other baked goods, often blending it with other gluten-free flours for optimal texture.
For more inspiration on how to incorporate your fresh flour into your baking, check out our guide on
Revolutionize Baking: Homemade Buckwheat Flour for Delicious Gluten-Free creations.
Embrace the Homemade Revolution
Learning
how to make buckwheat flour is a simple yet powerful step towards greater control over your gluten-free diet and culinary adventures. It’s an easy way to ensure freshness, maximize nutrition, save money, and elevate the flavor of your homemade dishes. So, grab some buckwheat groats, fire up your blender, and in just 5 minutes, you’ll be ready to enjoy the incredible versatility and benefits of your very own, homemade buckwheat flour. Happy baking!