Revolutionize Baking: Homemade Buckwheat Flour for Delicious Gluten-Free Delights
For countless home bakers, the quest for truly satisfying gluten-free alternatives can feel like an endless uphill battle. Many pre-made gluten-free flours bring with them a host of challenges: strange aftertastes, gritty textures, or the need for complex, finicky adjustments to classic recipes. It’s a common frustration, leaving many to wonder if delicious gluten-free baking is simply an unattainable dream.
But what if we told you the revolution starts in your own kitchen? The secret to unlocking incredible flavor, superior nutrition, and perfect texture in your gluten-free creations might just be a simple, budget-friendly ingredient you can transform yourself: homemade buckwheat flour. Forget those expensive, often stale, store-bought bags. Learning
how to make buckwheat flour from scratch is not only incredibly easy – often taking less than five minutes – but it also promises a freshness and vibrancy that will elevate your baking to new heights. Join us as we explore the world of buckwheat and empower you to create your own game-changing gluten-free flour.
What Exactly Is Buckwheat Flour? Unpacking This Gluten-Free Marvel
Before we dive into the "how-to," let’s clear up some common misconceptions about buckwheat. Despite its name, buckwheat is not related to wheat at all. It's actually a "pseudo-grain," a seed that's used culinarily in the same way as grains. Derived from the hulled seeds of the buckwheat plant (known as groats), buckwheat flour is naturally gluten-free, making it an invaluable staple for anyone with gluten sensitivities, celiac disease, or those simply looking to incorporate more diverse, nutrient-dense ingredients into their diet.
To produce flour, these whole buckwheat groats are simply ground into a fine, powdery consistency. Unlike many refined flours you find on supermarket shelves, homemade buckwheat flour retains all the beneficial components of the whole seed, offering a powerful nutritional punch.
Buckwheat: A Nutritional Powerhouse
Buckwheat stands apart from many other flours due to its impressive nutritional profile. It's a fantastic source of plant-based protein, making it particularly beneficial for those following vegetarian or vegan diets. Beyond protein, it's rich in dietary fiber, which aids digestion and promotes satiety. You'll also find a good supply of essential vitamins and minerals, including magnesium, manganese, phosphorus, niacin, zinc, and iron. These nutrients contribute to everything from bone health and energy production to antioxidant defense. Its complex carbohydrate structure also means it provides sustained energy release, making it a smart choice for balancing blood sugar levels.
Refined vs. Whole Grain: A Nutritional Showdown
The distinction between buckwheat flour and traditional refined flours like all-purpose flour is crucial, especially when considering nutritional value.
*
Refined Flour: Most widely used all-purpose flour begins as wheat grains. During the refining process, the bran (the outer layer) and the germ (the embryo) are stripped away, leaving only the starchy endosperm. These removed parts are where the vast majority of the fiber, vitamins, minerals, and healthy oils reside. The remaining endosperm is often bleached to achieve that familiar white appearance. The result is a flour that offers minimal nutritional benefits, primarily providing empty calories.
*
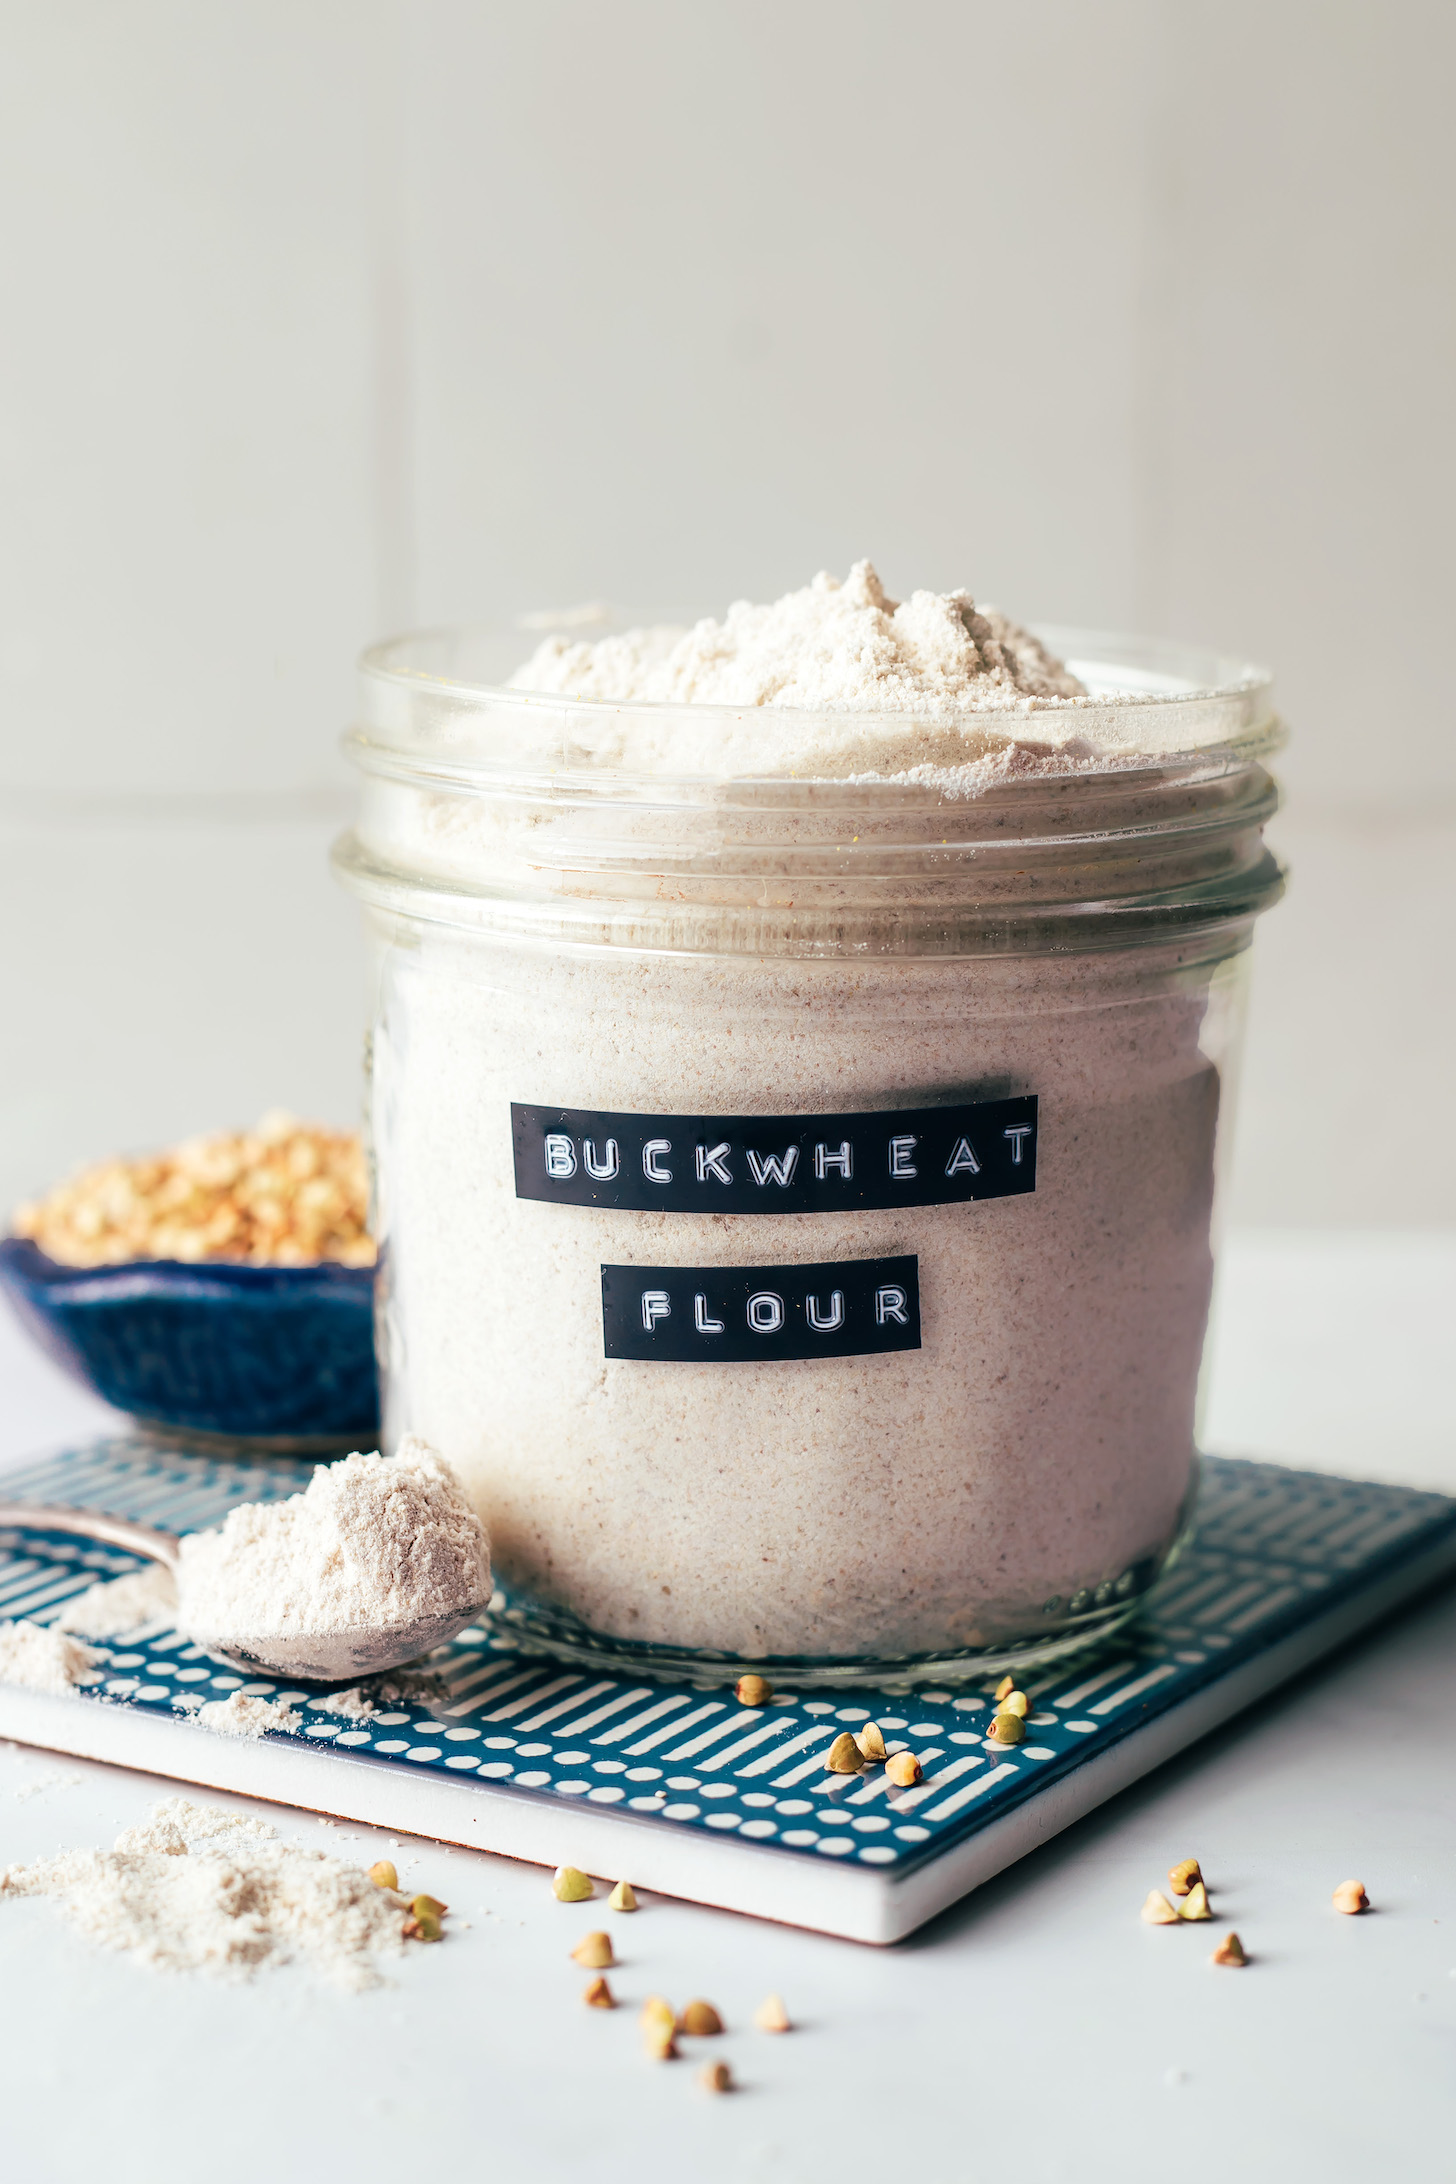
Buckwheat Flour: As a whole grain flour (or pseudo-grain), buckwheat flour is made from the entire groat, meaning the bran, germ, and endosperm are all retained. This preservation ensures that all the inherent nutritional goodness – the protein, fiber, vitamins, and minerals – remains intact. You'll notice its characteristic brownish hue, often flecked with darker specs, a testament to its whole-grain nature and lack of bleaching. This natural composition also means buckwheat flour contains natural oils that contribute to its unique flavor and richness. For a deeper dive into this comparison, be sure to read our article:
Buckwheat Flour vs. Refined: Unlock Superior Gluten-Free Nutrition at Home.
Why Go Homemade? The Unbeatable Advantages of DIY Buckwheat Flour
The thought of making your own flour might seem daunting, but once you experience the benefits of homemade buckwheat flour, you’ll wonder why you ever bought it.
1.
Unmatched Freshness and Flavor: This is arguably the biggest advantage. Store-bought flours can sit on shelves for months, becoming stale and losing their vibrant flavor. Homemade buckwheat flour, ground just before use, offers an incredibly fresh, earthy, and slightly nutty taste that elevates your baked goods. The natural oils present in whole buckwheat groats are also prone to oxidation over time, so grinding fresh preserves their quality.
2.
Superior Nutrition: By grinding whole buckwheat groats yourself, you ensure that you're getting 100% whole grain flour, retaining all the vital nutrients we discussed earlier. There are no hidden fillers, anti-caking agents, or preservatives.
3.
Budget-Friendly: A bag of whole buckwheat groats is often significantly cheaper than a comparable bag of pre-made buckwheat flour. This is especially true if you buy groats in bulk. Over time, the savings really add up, making gluten-free baking more accessible.
4.
Control and Purity: When you make your own, you know exactly what’s going into your flour: just buckwheat groats. This is paramount for those with allergies or sensitivities to common cross-contaminants often found in processing plants that handle multiple ingredients.
5.
Eco-Conscious Choice: Buying bulk groats and grinding at home often reduces packaging waste compared to repeatedly purchasing smaller bags of processed flour.
6.
Empowerment and Satisfaction: There’s a unique satisfaction that comes from creating ingredients from scratch. It connects you more intimately with your food and the baking process.
How to Make Buckwheat Flour: Your Simple 5-Minute Guide
Ready to turn those humble groats into baking gold? Making your own buckwheat flour is surprisingly simple and requires minimal equipment.
What You'll Need
*
Raw Buckwheat Groats: Ensure they are *raw* (untoasted). Toasted groats (kasha) have a much stronger, distinct flavor and will yield a different flour. You can find raw groats at health food stores, bulk sections, or online.
*
A High-Speed Blender or Coffee/Spice Grinder: A powerful blender (like a Vitamix or Blendtec) works best for larger quantities and the finest texture. For smaller batches, a dedicated coffee or spice grinder can also do an excellent job.
Step-by-Step Instructions
- Measure Your Groats: Start with the desired amount of raw buckwheat groats. A general rule of thumb is that 1 cup of whole groats yields approximately 1.25 to 1.5 cups of flour.
- Load Your Grinder: If using a high-speed blender, add up to 1.5-2 cups of groats at a time. For smaller coffee grinders, work in batches of about 1/2 cup to avoid overloading the motor and to ensure an even grind.
- Grind Until Fine: Secure the lid and start blending/grinding. Use a pulsed motion rather than continuous blending to prevent overheating the flour, which can damage nutrients and affect flavor. Blend for about 30-60 seconds, or until the groats have transformed into a very fine, flour-like powder. If using a high-speed blender, you may see a "flour vortex" forming, indicating a good grind.
- Check for Consistency: Stop and check the texture. You're aiming for a consistency similar to store-bought flour. If it's too coarse, continue blending in short bursts until you reach the desired fineness.
- Sift (Optional, but Recommended): For the smoothest baked goods, you can sift your freshly ground flour through a fine-mesh sieve. Any larger, unground pieces can be returned to the grinder for another pass, or saved for another use (like adding texture to granola).
- Cool Completely: Freshly ground flour will be slightly warm from the friction of the grinding process. Spread it out on a plate or baking sheet and let it cool completely to room temperature before storing. This prevents condensation and keeps the flour from clumping or spoiling prematurely.
Tips for Success and Troubleshooting
- Don't Overheat: Pulsing rather than continuous blending is key. Overheating can degrade the quality of the flour and its delicate oils.
- Batch Size Matters: Smaller batches in a coffee grinder ensure a consistent, fine grind. Larger blenders can handle more, but still monitor the temperature.
- Different Textures for Different Uses: For delicate pastries, aim for a super-fine sifted flour. For rustic breads or added texture, a slightly coarser grind can be desirable.
- Clean Equipment: Ensure your blender or grinder is perfectly dry and free of any residual coffee or spices, which can impart unwanted flavors.
Storing Your Homemade Buckwheat Flour for Lasting Freshness
Because homemade buckwheat flour retains all its natural oils, it's more susceptible to rancidity than refined flours. Proper storage is essential to maintain its freshness and extend its shelf life.
*
Airtight Container: Always store your flour in an airtight container to protect it from moisture, air, and pantry pests. Glass jars with tight-fitting lids or vacuum-sealed bags are excellent choices.
*
Cool, Dark Place: For short-term storage (1-2 weeks), a cool, dark pantry or cupboard is sufficient.
*
Refrigeration: For longer storage (up to 1-2 months), keeping the flour in the refrigerator is ideal. The cool temperatures slow down the oxidation of the oils.
*
Freezing: For the longest shelf life (3-6 months or even longer), store your buckwheat flour in the freezer. Simply bring it to room temperature before using in your recipes.
Always check your flour before using it. Fresh buckwheat flour has a mild, earthy, slightly nutty aroma. If it smells bitter, sour, or "off," it has likely gone rancid and should be discarded.
Beyond the Flour: Delicious Ways to Use Your Homemade Buckwheat Creation
Now that you've mastered
how to make buckwheat flour, it's time for the fun part: baking! Buckwheat flour brings a unique, earthy, and sometimes slightly malty flavor to recipes, making it a fantastic ingredient for a wide array of dishes.
*
Pancakes and Waffles: This is a classic application. Buckwheat pancakes are incredibly fluffy and have a distinctive flavor that pairs wonderfully with sweet or savory toppings.
*
Crepes and Galettes: Traditionally used in French galettes (savory crepes), buckwheat flour creates thin, pliable wrappers perfect for fillings like cheese, ham, or eggs.
*
Muffins and Quick Breads: Substitute a portion of your regular gluten-free flour blend with buckwheat flour for added depth of flavor and nutrition in muffins, banana bread, or zucchini bread.
*
Scones and Biscuits: Its unique texture contributes a tender crumb to these baked goods.
*
Gluten-Free Breads: While often combined with other gluten-free flours for optimal structure, buckwheat flour can be a significant component in delicious gluten-free bread recipes, adding a rustic character.
*
Cookies and Brownies: Experiment with using buckwheat flour in your favorite cookie or brownie recipes for a unique twist.
*
Thickening Agent: Its starchy nature also makes it a great gluten-free thickener for gravies, sauces, or soups.
When starting out, consider looking for recipes specifically designed for buckwheat flour, as its unique properties (lack of gluten, absorbency) mean it doesn't always substitute 1:1 for wheat flour or even other gluten-free flours.
Conclusion
The journey to delightful gluten-free baking doesn't have to be fraught with compromise. By learning
how to make buckwheat flour at home, you're not just creating an ingredient; you're unlocking a world of fresh flavors, superior nutrition, and unprecedented control over your culinary creations. It's an incredibly simple, budget-friendly, and deeply satisfying process that will revolutionize your approach to gluten-free baking. So grab those buckwheat groats, fire up your blender, and prepare to be amazed by the delicious, wholesome possibilities that await!